Showing posts with label Santa. Show all posts

Saturday, December 23, 2023

Santa Belly Ornament with Art Impressions Dies

Happy Christmas Eve Eve everyone!

Here's a quick ornament I made with two 5th grade classes at school.

It's made with 100% Art Impressions dies except for the buckle.


I used:
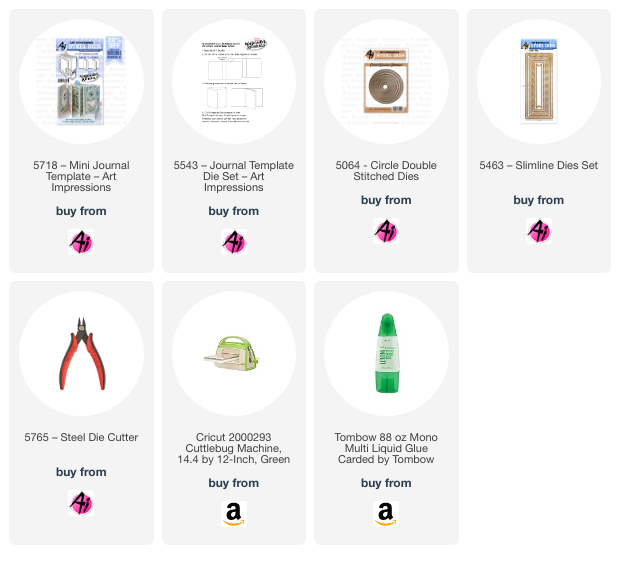
5463 – Slimline Dies Set for the fur and belt
and
5718 – Mini Journal Template for the hanger.
The buckle is from a very old Sizzix Red die called Charms, Buckles


Sunday, November 18, 2018

Santa Claus is Coming to Town!

Hello Ai fans!

Today I'm sharing a Christmas card that I made using Art Impressions new Sleigh Bells set.


This is such a sweet and traditional set.
I just love this Santa and his reindeer and 
I think these images look great against the starry night background.


Copics used:
E00, 25, 33,35, 37, 81, 84
Y28, 35,  RV52, R00, 29, 56, T1, N2, N4,
C7, W1, 3, 5, G09, 24, 94


Sunday, November 13, 2016

Mele Kalikimaka! Merry Christmas!

Hello Ai fans!

Today I'm sharing a Christmas card with you.  My card features one of the new clear stamp sets from Art Impressions.  The set is called 4788 – Tropical Christmas Set.


I think we all know someone in the south or in my case; the southern continental U.S. and in Hawaii that this card would be perfect for!


This set has so many cute images and verses.
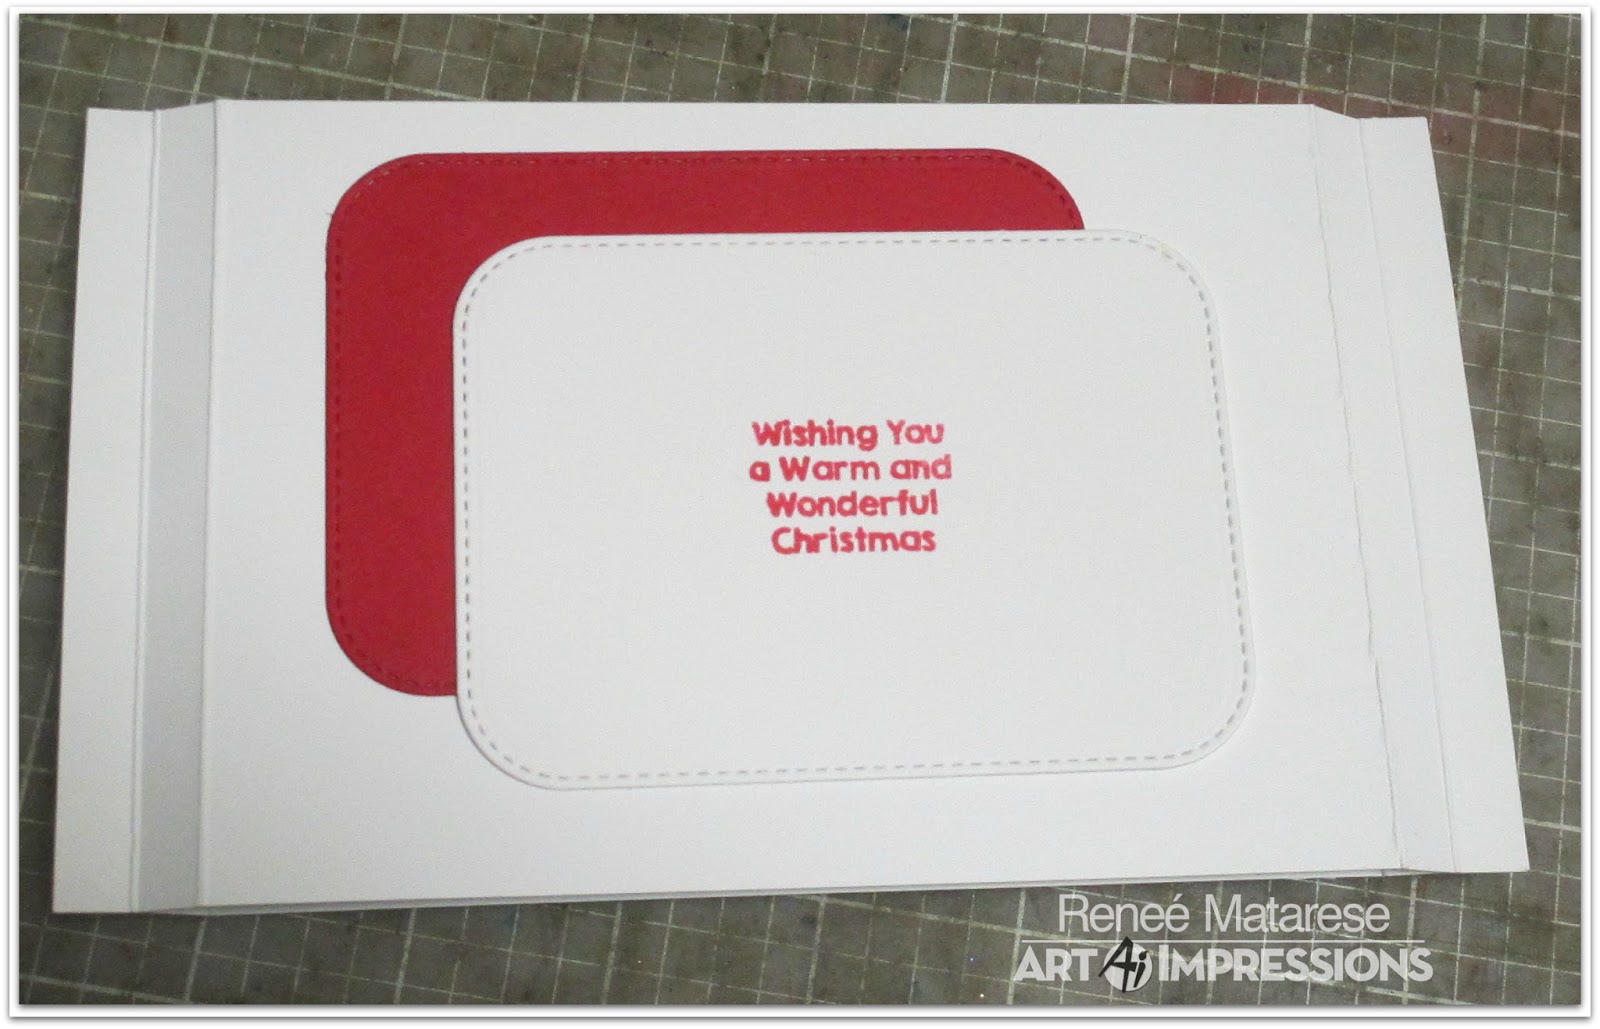
Here's the inside of my card.


Copics used:
Y15, B43, BG01, YG05, YG17, YG67

Marvy Markers:
15 Olive Green, 18 Dark Brown, 24 Beige, 38 Oyster Grey


Thursday, October 27, 2016

Prepping for Christmas with Art Impressions New Releases!!

Hello Ai fans!

Today I'm sharing two of the new Christmas releases from Art Impressions.
I have a tutorial for my first card, a shadowbox, using


My cards go along perfectly with the new challenge on the Art Impessions blog.


I started by cutting two white pieces of paper measuring 7 3/8" x 4.25"
I scored them at 3/8" and 6/8" in from the left, flipped the paper over and scored the other side at the same measurements.

Next I cut an oval in one of the panels. I used the second largest oval in Spellbinders Large Oval die set.   You can use whatever shape you want.  Just make sure all your images will show. 


Next I stamped, colored and cut out all of the images.


Remove the front panel and adhere the inside images.
Then add all of your images you want on the front.


I flipped the back panel over and added a verse and a place to sign the card.


Glue the front and back panels together where you scored them.


The great part is that this can be somewhat flattened to mail it and then popped back open.


Isn't the dimension you get with this type of card wonderful?!


I hope you enjoy the new sets as much as I do!


Art Impressions and Therm O Web also have a Rafflecopter giveaway...

http://www.rafflecopter.com/rafl/display/77667aea20/

~~~~~~~~~~~~~~~~~~~~~~~~~~~~~~~~~~~~~~~~~~~~~~~~~~~~~~~~~~~~

Copics used on Southwest shadowbox card...

E00, E02, E35, E53, E93, Y35, YG06, YG13, YG63,
YG67, R29, R59, W00, W1, W3, W5, BG01

I also made another card using the new
4789 – Dairy Christmas Set.


I live in farm country so I can see getting a LOT of use out of this set!


Here's the inside.