So, it turns out I'm not always great about posting my
cards in a timely manner.
Earlier today I shared Diane's 40th birthday card.
Now, here is her 41st...oops! lol!

The butterflies were made with some old punches I have.


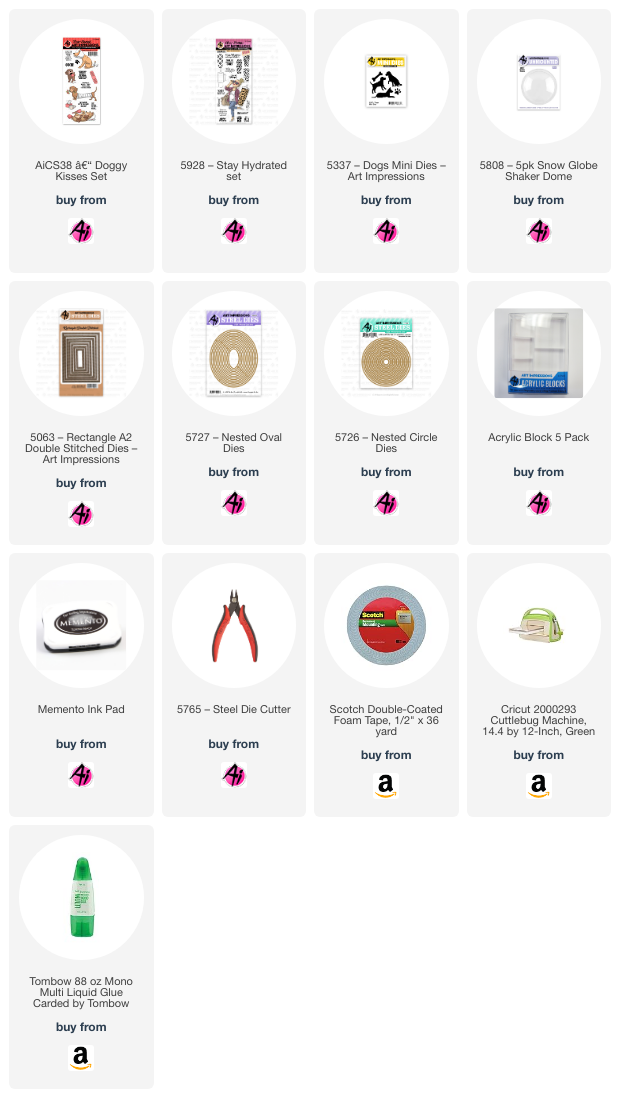
Hello Ai fans!
Today I have some dog themed shaker cards for you.
These did not set out to be shakers.
I had cut the dog out with my circle dies and had
intended to leave it just like that with a matte around it.
I still had my snow globe domes out from last week though
and noticed that they would fit perfectly around this little guy.


Copics used:
RV000, RV52, B000, B00, B01, E23, E53, W00, W2


Hello Ai fans and welcome to our newest challenge,
All A-Buzz!


Hello Ai fans!
I'm sure you guys have been anxiously awaiting this day!
I have the random winners of the two Art Impressions
retired exclusive sets.
Let's get right to it.
The winner of 5863 Christmas Mailbox Set is
#20 Barb E.


