Showing posts with label Shadowbox Card. Show all posts

Thursday, July 6, 2023

Bonnie's Birthday Challenge at Art Impressions

Hello Ai fans!

It's The Queen's birthday!
Queen Bonnie, our Queen Bee.


In honor of Bonnie's birthday, we're sending her birthday cards!
Her birthday is July 10th and we hope you'll join us in brightening her day.

If you'd like to send her some birthday wishes you can mail your cards here...

Art Impressions
ATTN: Bonnie
PO Box 20085
Keizer, OR 97303

We know you all love her as much as we do!

You DO NOT need to send Bonnie a card to play along in this challenge.  As usual, all entries are welcome.  You just need to create something birthday themed to play along.  Cards, tags, gift bags, gift boxes, birthday banners, cupcake/cake picks etc.

By pure coincidence it was my turn to be the featured artist for this challenge and I couldn't be happier about it. I chose to make a shadowbox card using bees of course!


I started by making the front to my card.
I measured paper to be 5"x8" and then scored at 3/4" adn 1 1/4", flipped it around to the other side and scored and the same marks.

Then I glued designer paper to it just slightly smaller that the blue front panel. My DP measured 5 1/4"x 4 3/4".


I used 5727 – Nested Oval Dies to cut the opening.
Do NOT throw that piece away.  You can surely use it to matte something else.
(For me, my honeycomb paper is precious)
I used the 4"x3 1/4 " oval for this but you can use whatever size suits what you want on the front and what you want to be able to see on the inside.


Next, I cut a back panel in the same size and scored at the same lengths.  I just used white cardstock for the back.  It doesn't show from the front and matched what I wanted on the backside of the back panel which you'll see later.  I played around with what I thought I'd want on the inside.  I ended up using that flower on the outside front panel.  I felt it was too busy with the paper I used here.


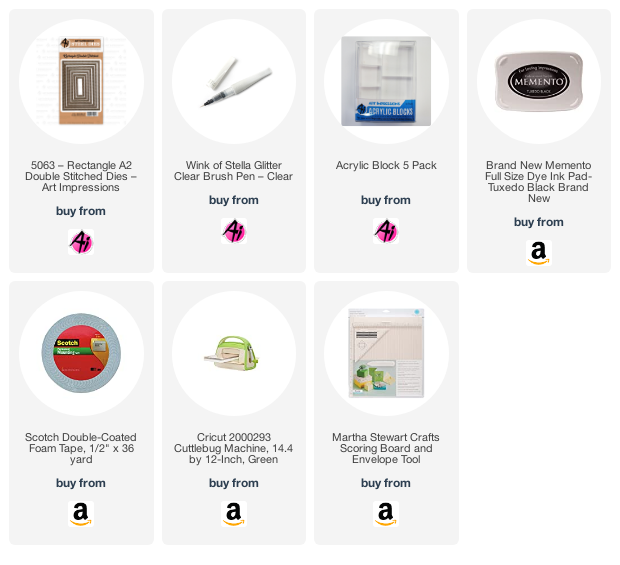
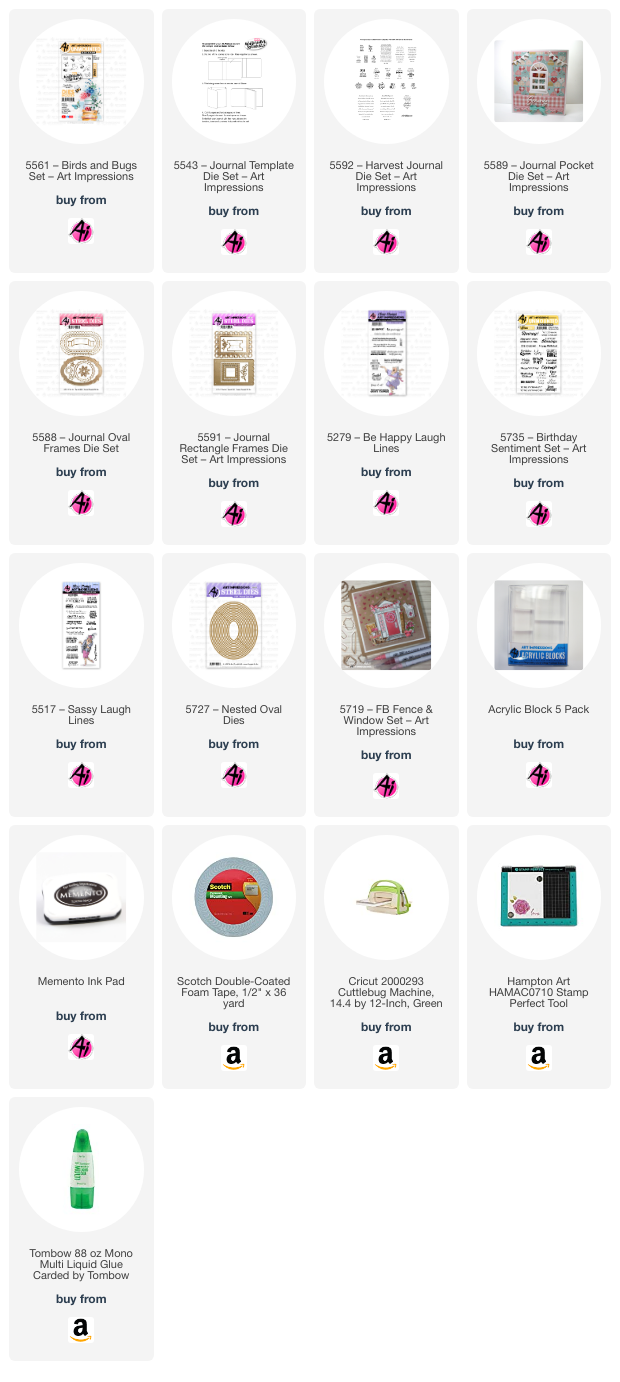
I used dies from 5588 – Journal Oval Frames Die Set5589 – Journal Pocket Die Set5591 – Journal Rectangle Frames Die Set and 5592 – Harvest Journal Die Set. The little bees are from 5561 – Birds and Bugs Set and the sentiment is from 5279 – Be Happy Laugh Lines.  The bees are on strips of acetate that I doubled up to give it enough stability.  I adhered them to the back panel BEFORE gluing the front panel to the back.


Next, I decorated the front. The sentiment The Queen is from 5517 – Sassy Laugh Lines and it's stamped on a die from 5588 – Journal Oval Frames Die Set . The cute little banners are from 5719 – FB Fence & Window Set.


Now, on the back of the back panel I also wanted to decorate. The verses are both stamped on dies from  5543 – Journal Template Die Set and the star is from that set too.  Happy Birthday comes from 5735 – Birthday Sentiment Set and Everyone was thinking it is from 5517 – Sassy Laugh Lines.


Happy Birthday Bonnie!!
Here's to many more!

Thursday, April 1, 2021

New interactive Shadowbox Dies from Art Impressions!

Hello Ai fans!

Today I'm sharing a beautiful new addition to Art Impressions extensive interactive lines.

This is a shadowbox card that can be used with all the Windows to the World sets as well as so many more!

I've used the 5411 Deer Window Accessory Set
along with the necessary 5408 Shadowbox Window Die.


There are several new WTTW sets to work with this die set but any of the older windows will work as well.  You can create your own little pop up using a separate stamp or restamp the window and cut a piece of it out to pop up.


The window stamp scene is just like all the other WTTW stamps but you will cut off the words from it's edges with the die provided to make it fit.  There's also a window pane and window moulding.  I LOVE THESE!!


There's also a fun Hello die included in the set.


This is what the shadowbox looks like from the side.
It folds flat for mailing.  Don't you love the dimension that it creates!


Copics used:
N0, W3, T3, E33, E42, E93,
YG03, YG67, B41, BG10, G20


Tuesday, November 17, 2020

Kneel down before HIM

Hello and happy Tuesday!

I had an unusual request last year.  I wasn't sure how people would react to it so I didn't share it but now I just don't care. I tried to take the request very seriously and respectfully.  I hope everyone agrees.


I feel like so many people have become hyper sensitive.  There was NO disrespect meant when this card was requested or made.  I have a friend who has a coworker that had a baby last October.  He was lax and didn't send a well wish right away.


He asked if I could make an ornament or keepsake for baby's first Christmas that had a Nativity scene but also contained the husband and wife's favorite (opposing) football teams and also acknowledged their religious beliefs about Christmas.  That's not an easy request!


I thought it would be sweet if the football players were kneeling, admiring the baby.  Some people didn't think it worked because "kneeling" in the NFL of recent has a negative connotation. That was never my intent. I meant it to be respectful.


My card was a shadowbox that had several layers. 
Though I don't know the recipient or how they felt about the card I hope Marty has a wonderful second Christmas!  I think this should be a FUN one!!


Wednesday, July 15, 2020

Beachy Shadowbox Card Tutorial

Hello Ai fans!

Today I'm sharing a fun shadow card that I made using most of the ocean freebies from Art Impressions.


These shadowbox cards are one of my favorite to make.
I love how much dimension and how many images you can get onto them.

I started by cutting an 8"x8" piece of paper in half to make 2 pieces each measuring 8"x4".

Next I scored them at 1" and 1 3/8"...flipped the paper over and scored the other side at 1" and 1 3/8". 


Next I cut a window in the front panel using one of the 5063 – Rectangle A2 Double Stitched Die.


After cutting the window I creased the score lines on both sides to form the top/front panel.


Here's all my critters colored up.  They all have Wink of Stella on them though it's tough to see in the picture.  I wanted it to look like water glistening on them.  The seahorse went onto another card.


I wanted to leave a space on the back of my card to send a personal note.  I glued these pieces on before starting any of the inside of the card.


After creasing the front panel and decorating the back of the card I did the back panel in the opposite direction so they could fit together to form a "box."


Next focus on the part of the card you'll see.
After your front and back panels are prepped you need to decorate the back panel completely.  (you can't really decorate once they're glued together...it's too difficult to attach images and die cuts) Once your back panel is decorated you need to cut two strips of paper that will connect from side to side.  The width is really up to you.  I didn't want mine to show so I made them 3/8" x 6". 


I used clear acetate to attach the turtle so he would hang down and look like he was swimming.  The coral is just glued to the strip.  


Once they were in place I glued the top and bottom strips on and added some waves and more coral.


I decorated the front panel next.  The dolphin is also hanging from a clear acetate piece so he could swim.


Once your front panel is all decorated the way you want it you're ready to glue them together.
You can see that you get 3 layers with strips (which you can eliminate if you only want a simple shadowbox. 


Aren't these the cutest little animals EVER??


I have some examples of other shadowbox cards I've done here...
Happy Trails

I tried to be clear in my instructions but I'm not great at tutorials.  If you have any questions about anything that I didn't make clear please feel to ask.