Hello Ai fans!
The new challenge at Art Impressions is
Give Us a Fright!
Halloween is creeping up quickly and will be here "Boo-Fore" you know it.
I created a card and three lanterns for you today. All are "see through" and have a battery operated candle to illuminate them. We'll start with the card. I kept thinking "Turn out the light, and give us a fright." That's what inspired these projects. There will be links to everything at the bottom of my post.
.jpg)
The idea for this card began last year when I received the Web Dies set. I was so anxious to use them that I didn't even cut them apart. I just die cut the entire thing as is. I really kind of liked the look of the negative space and decided to hold onto it.

I always save good packaging from things I buy because they come in handy for clear cards. This one is from an embossing folder I think. I trimmed it down and glued the black piece to it.

I then used my5063 – Rectangle A2 Double Stitched Dies to cut out a frame so that light would show through. I glued the black cut out piece to the card base and then I just added back in all the little webs and spiders and jack-o-lanterns.
.jpg)
I used the new Frog FB image since he does show through a little bit on the inside of the card. Isn't he cute?!
.jpg)
I can just picture this on my mantle or coffee table when the lights are all out and we're watching scary movies. So much fun!

Next up I have three very similar lanterns, yet each one is unique.
This one was done with all dark papers for my son.


This was such an easy process. I have a few quick instructions and photos to help you out. The cool thing about these is they fold flat if you want to store it for next year. You can mail it flat too but you'd need a box if you wanted to include the light with it.
Here are the beginning steps. I felt the rest were pretty self explanatory so I didn't take photos.
1. Cut a base cardstock to measure 4"x12" I used one that was black on one side & green on the inside.
2. Draw a line with your ruler about 1 5/8" from what you plan to be the bottom of the lantern. This will keep all of your windows lined up and level.
2. Draw a line with your ruler about 1 5/8" from what you plan to be the bottom of the lantern. This will keep all of your windows lined up and level.
3. Score your paper at 2 3/4", 5 1/2", 8 1/4" and 11" (You'll then trim off about a 1/4" of what's left after the 11" score mark so it doesn't show through the window when you glue it shut. You just need enough left to hold your tape or glue.
4.Glue on your patterned paper panels which should measure 2 3/4" x 4"
5. Use the window opening die from 5408 – ShadowBox Window Die to cut the 4 windows.
5. Use the window opening die from 5408 – ShadowBox Window Die to cut the 4 windows.
6. Cut the windows with the panes in them and glue them on.
Here's what I don't have photos for...
7. Glue vellum pieces to the inside of the lantern to help filter the light and give you something to glue all the little die cuts to.
8. Glue on all of your decorative pieces.


They look so adorable all lit up with the little critters and creatures peeking out and lurking about.
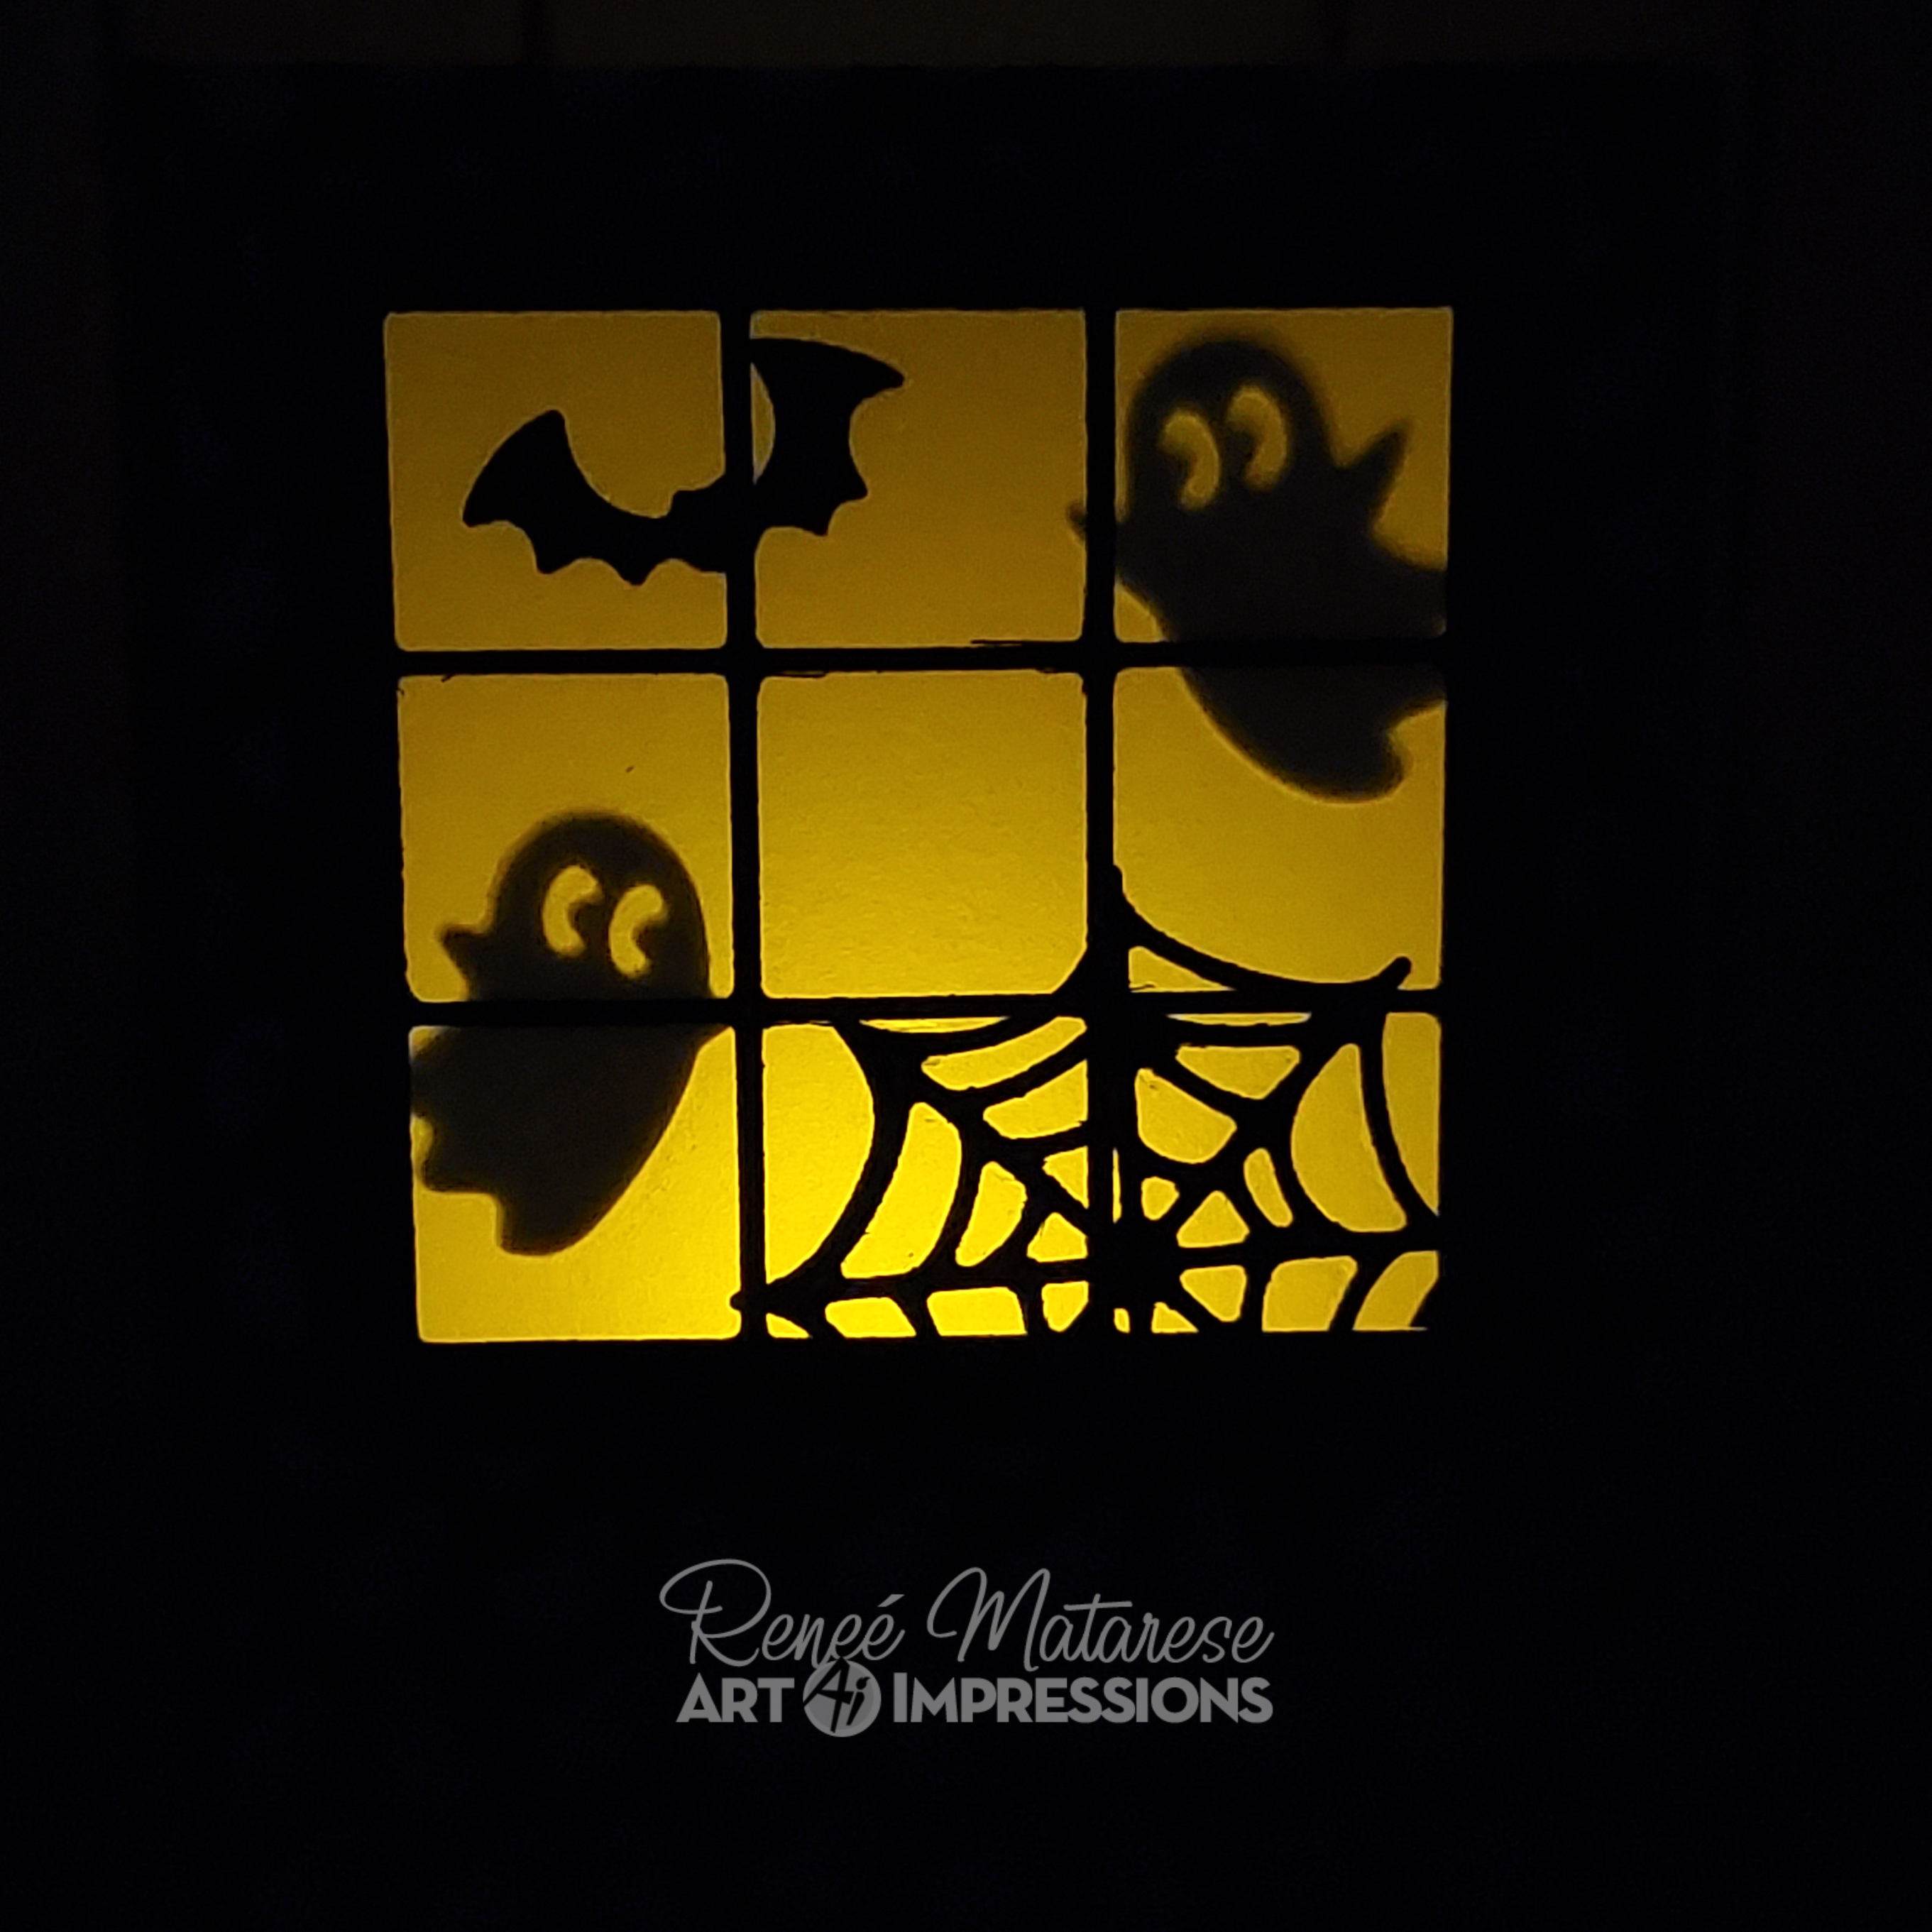
Then I created two more for my daughter and for Art Impressions. I used orange and white paper for Art Impressions and the lighter flip side of the paper that I used on my son's to make my daughter's.

All of the patterned papers are from Art Impressions new 5849 – Halloween S2 Paper Pack except for the black paper with silver stars.

Now...let's light them up. I just LOVE these so much!
I may need to make another one for myself.

Inside is a little battery operated tea light that can be switched off when you're not using it.