Showing posts with label wedding. Show all posts

Wednesday, August 27, 2025

Butterfly Wishes

 Hello and happy Wednesday!

I have less than a week left of summer vacation and then it's back to work at school.

I'm always so sad over less craft time.

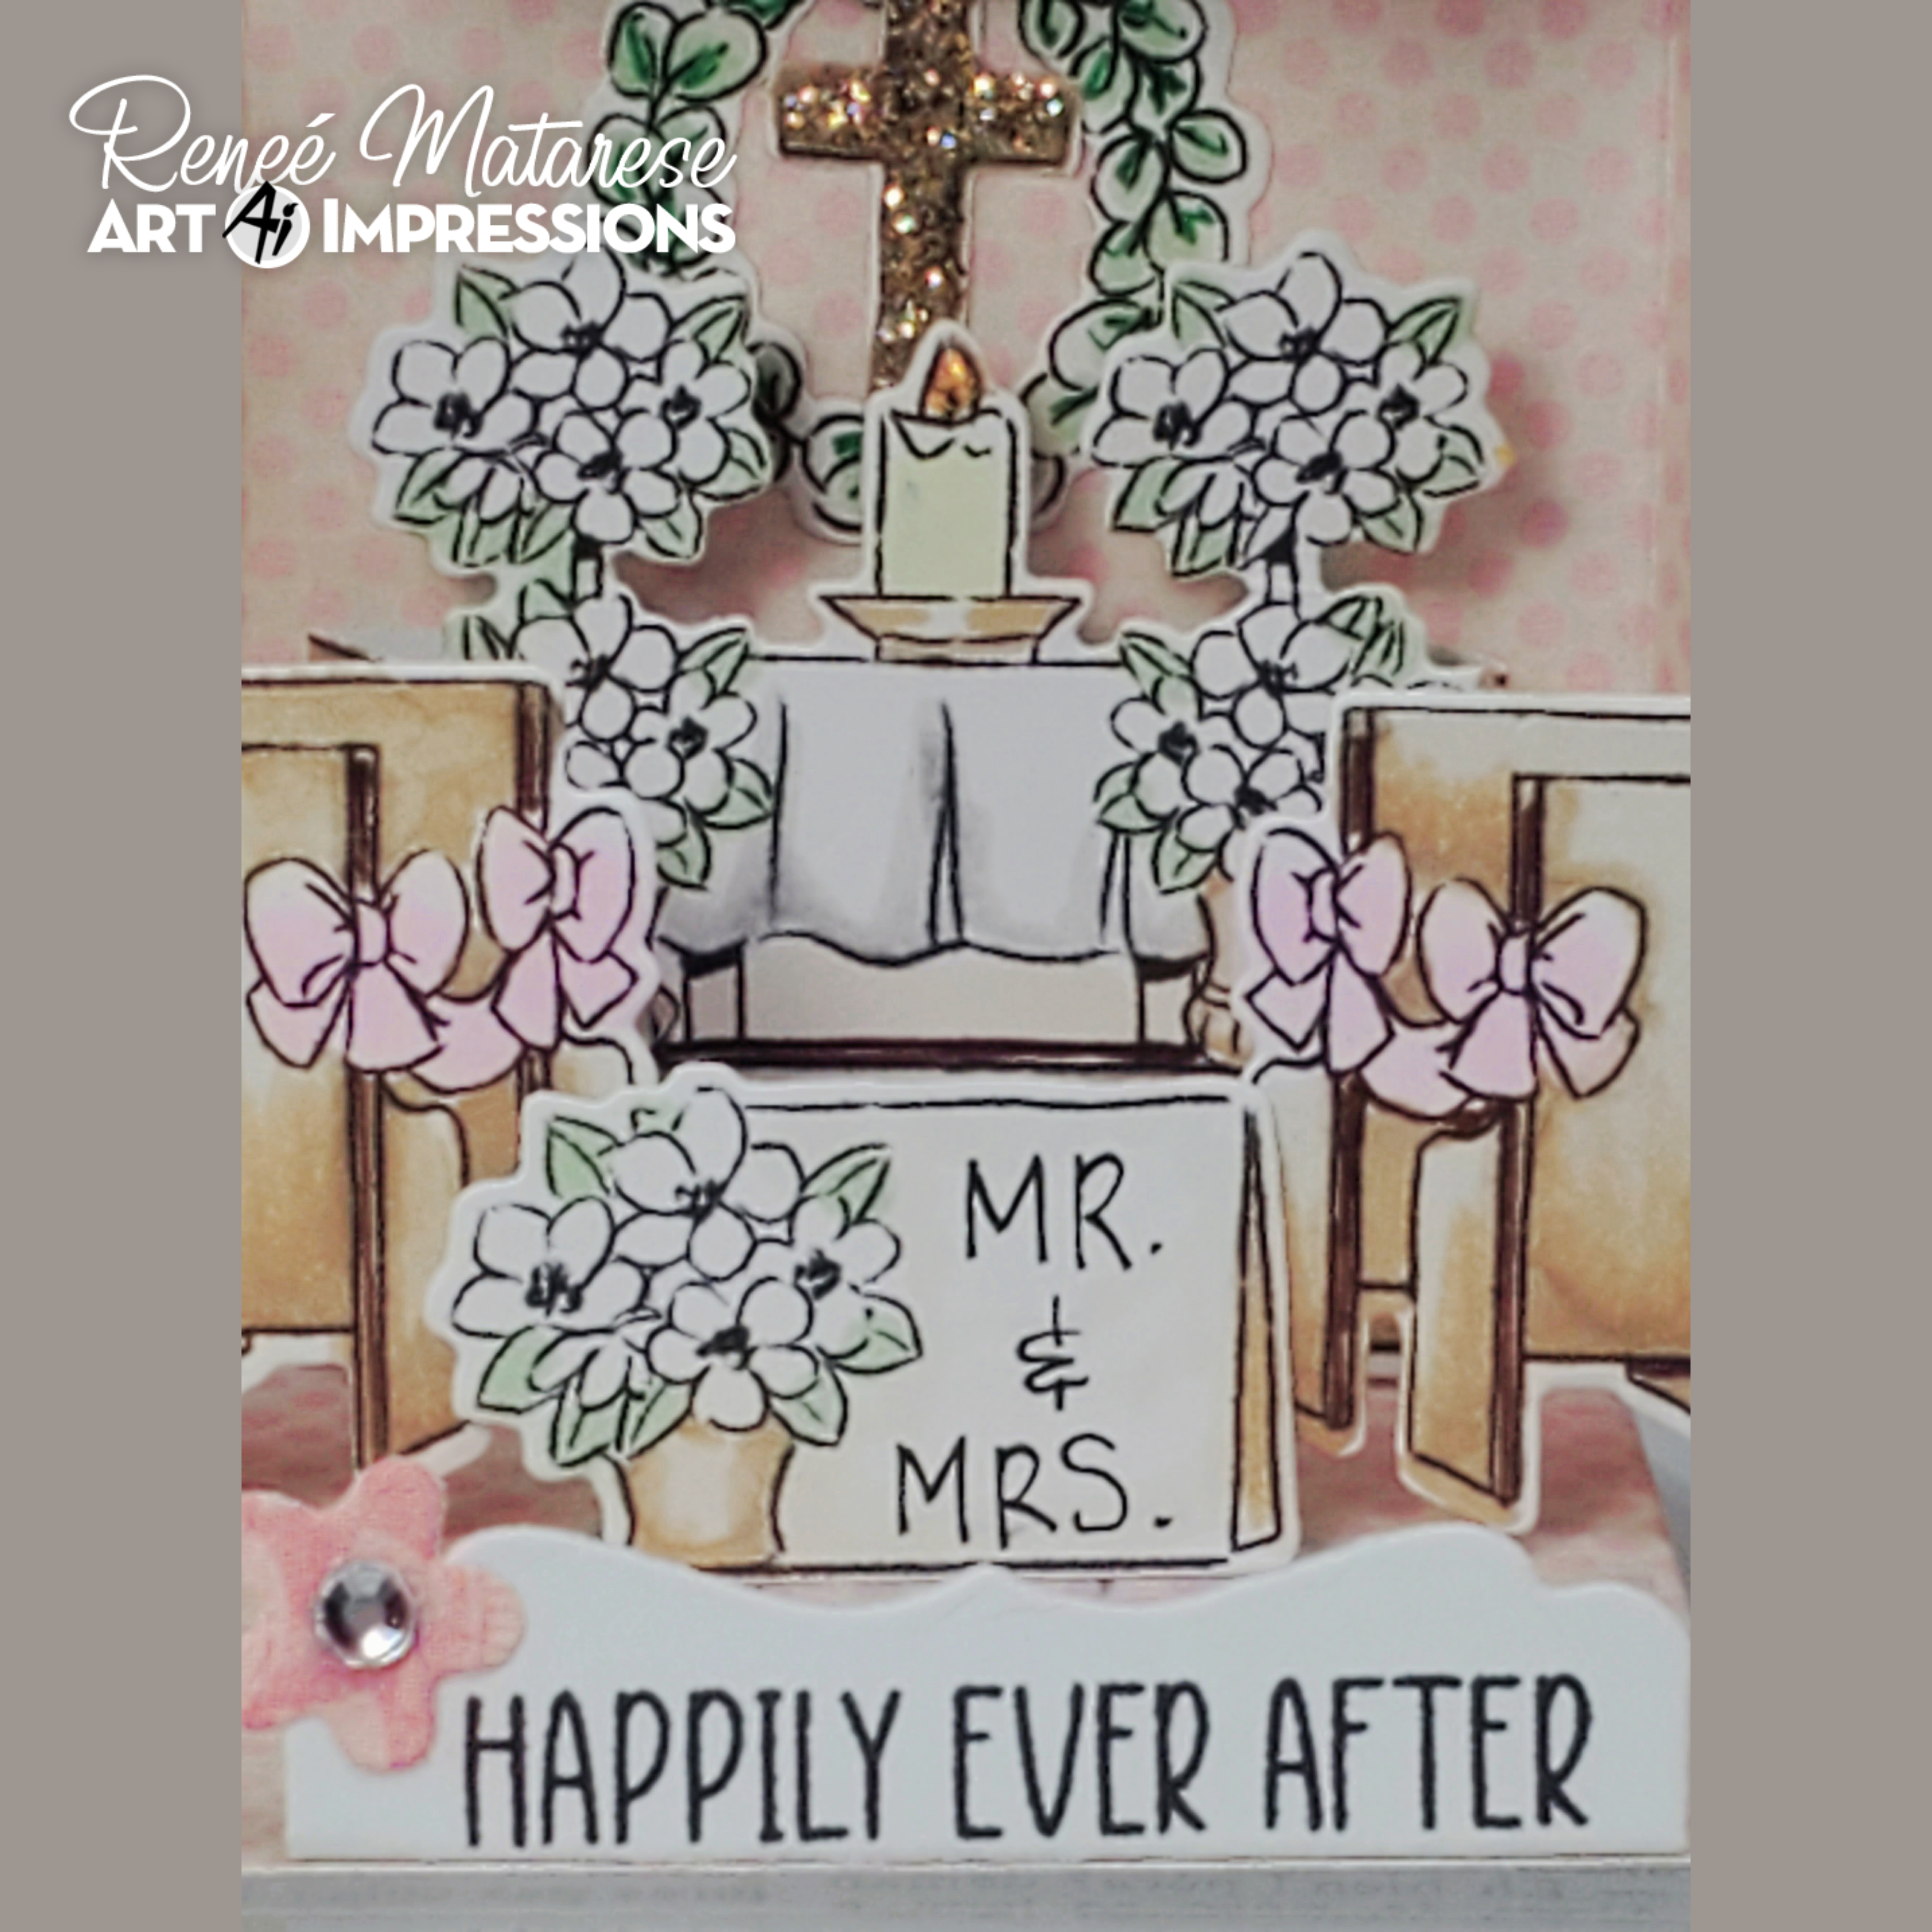
Today I'm sharing two elegant cards. One is a bridal shower or wedding card and the other is a thinking of you/inspirational card.

It always amazes me what a few dies and a little embossing can do for a card.


These are for no one in particular. Sometimes I just get in the mood to make something pretty.


The beautiful butterfly die is from 5811 – Gift Card Pocket Dies and the sentiment on the green card is from 5949 – Encouragement Sentiments Set.


A few words so that someday when I'm trying to find these cards they'll pop up...

Die cut leaves foliage embossed

Thursday, November 30, 2023

Happily Ever After from Art Impressions

 Hello everyone!

Today I'm sharing two wedding cards that I made.

The first one was for my husband's friend's daughter and her new husband.  My husband wanted me to put their names on it to make it more personal.

On the front I used 
5835 – Mini Journal Paper Pack
5063 – Rectangle A2 Double Stitched Dies
5543 – Journal Template Die Set
5721 – Nested Heart Dies
5562 – Journal Letter Die Set

On the inside I used a pocket from 5589 – Journal Pocket Die Set to hold a gift card.

I made a second version that wasn't personalized in case another wedding pops up.


On the inside of this one I used 5556 – Journal Clasp Die Set.


Saturday, November 4, 2023

Happy Wedding Rob and Jenn!

When our friends were married I took inspiration from their wedding invitation.
I wish I had taken a photo. They were married outdoors and had the reception in their pole barn.
It was really beautiful.


I used stamps from 5266 – Greenery Invites from Art Impressions.


Most of the dies are from dies Momenta and the bee and verse are from Hampton Art.


I hope they will BEE very happy!


Sunday, September 25, 2022

Matchbook Chapel and School from Art Impressions

 Hello Ai fans!

Today I'm sharing two Matchbook cards with you.

These tiny little scenes are so adorable and so easy to make.

For my first card I used the 5496 – MB Chapel.


This was marketed as a Wedding set but with a few minor adjustments I don't see why you couldn't use this for a baptism, christening, first communion or an anniversary.


The wreath is from the 5490 – Front Porch Farm House Set.


For my second card I used 5501 – MB School.


Though my kids are grown now I still work in an elementary school and will get so much use out of this set!


I used the 5318 – MB Envelope Dies for the cute little envelope.

All of these sets and dies are from the Matchbook Series.


How cute is this tiny little envelope that's even smaller than the main, tiny envelope!


Copics used:
Chapel:
G12, Y000, Y28, Y38, RV000, RV10, E40, C4

School:
B01, B06, B95, YG07, YG11, YG45, Y11, Y18, Y26,
Y38, E35, E55, E81, RV29, RV34, N2, R81


Sunday, August 16, 2020

"LOVEly" Wedding Card from Art Impressions

Hello Ai fans!

Today I'm sharing a wedding card that I made.

I've used two different sets to make my card.

The flowers are from 5272 – Blossom Border Set from the Bible Journaling series.


The cake that represents the "O" in LOVE is from 5254 – Wedding Cake Set from the Basics line.
The background panel was created using the Quatrafoil Panel from Amazing Paper Grace at Spellbinders.  I couldn't find a link so I think it may be retired.


I used more of the flowers on the inside where I add MR & MRS.
They're the same flowers from the front of the card except I used the full stamp.  On the front of the card I trimmed off the end piece.


Copics used:
E18, E79, E87, YG91, YG95,
V0000, V06, V12, Y28, C0, T4


Tuesday, May 26, 2020

It's a Dungeons and Dragons wedding??

Hello and happy Tuesday!

I had a rather unusual request.  This was definitely outside my comfort zone!
I was commissioned to make a Dungeons and Dragons wedding card.
WOW!! What do you do with THAT??
lol!


It's kind of difficult to make dragons and fire romantic but this is what the couple is into so I hope this made them happy.


I added some yellow stickles to his eyes and some of the fire to make them a little more intense.


I also used some dies to cut some glittery hearts out and gave them dragon wings.  Every wedding needs a little bling!


Sunday, May 17, 2020

Happy Wedding Day!

Hello Ai fans!
Today I'm sharing two cards that I made using Art Impressions new


I also used 5065 – Oval Double Stitched Dies on both my cards.  I trimmed it on my green card so that it looked like a tablecloth.


I love black and white for weddings so I made them both in that theme but with different pops of color.  I've also been trying to use some of my older supplies lately.  That's been kind of a goal of mine...to use what I already have instead of adding more embellishments to my already huge collection.  I used a button on each of my cards.


If you like these cakes, and how could you not, you should check out the new birthday cake set too!


It's difficult to see but I also added some Wink of Stella to the trim and flowers.  It looks much better in person. I just couldn't get my camera to pick it up well.


Copics used:

Green card:
R27, YG41, YG45, T2, T3, N0, C9, E00, E18, E35

Red card:
R27, R89, YG41, YG45, N0, T2, T3, C9


Sunday, July 29, 2018

Floral Birdhouse Wedding card

Hello Ai fans!

Today I'm sharing a very special wedding card.
One of our good friends oldest son is getting married in September.
I know, I'm a little early but when inspiration strikes...you make the card.

I've used two different Art Impressions sets on my card.


I decided to make a step card but with a little twist.  Each step is a little smaller than the one before it.


You'll notice some gold paper on my card. My kids graduated high school in June '17 and June '18.  I had used various spray paints to make some decorations.


I decided to give something a try.  I took some plain white paper and sprayed it first with the gold spray paint and then with the Gold Glitter Blast.  I LOVED how it turned out!  Bonus...it's so cheap to make.  No more paying $2.00 for a sheet of metallic paper!


I took a hat pin and added some beads to it.


It's tough to see all of the layers of the card in the photos so I laid the card out flat so you could see it all.


I think this is the most extensive card I've ever made.  I actually made two of them and together they took me about 12 hours to complete.


Here's the "envelope" that I made for it.  Due to the bulk of the card I decided to do a gift "bag" envelope.  The card is 1 1/2" thick when closed.


E31, E33, E35, G20, Y11, YG03, YG63, W5,
R32, R83, R85, RV52, V0000, V06, V12