Showing posts with label snowflakes. Show all posts

Friday, December 29, 2023

Thank you George!

Hello and happy Friday!

I have another thank you card to share.

This one was created for our art teacher at my school.

This time of year especially, he helps out so many of us with supplies 
and all of his creative ideas, as well as actually creating things for us.

I wanted him to know that he is appreciated.


Everyone who he helped stopped by to sign the card.


It's tough to capture in a photo but this is some fun, holographic paper.
It changes color every time you move the card.  It's tough to design something for
someone who is an amazing artist but I'll bet he liked this.


Thursday, November 9, 2023

Elegant Snowflakes from Art Impressions

 I really love all of the cutesy style Christmas stamps that Art Impressions offers but sometimes I want something a little more elegant. I felt that these snowflakes were just the thing.


My card is for the Making Spirits Bright challenge here on the Art Impressions blog right now.


When I saw this set I snatched it up immediately!  It's one of my all-time favorite die sets.
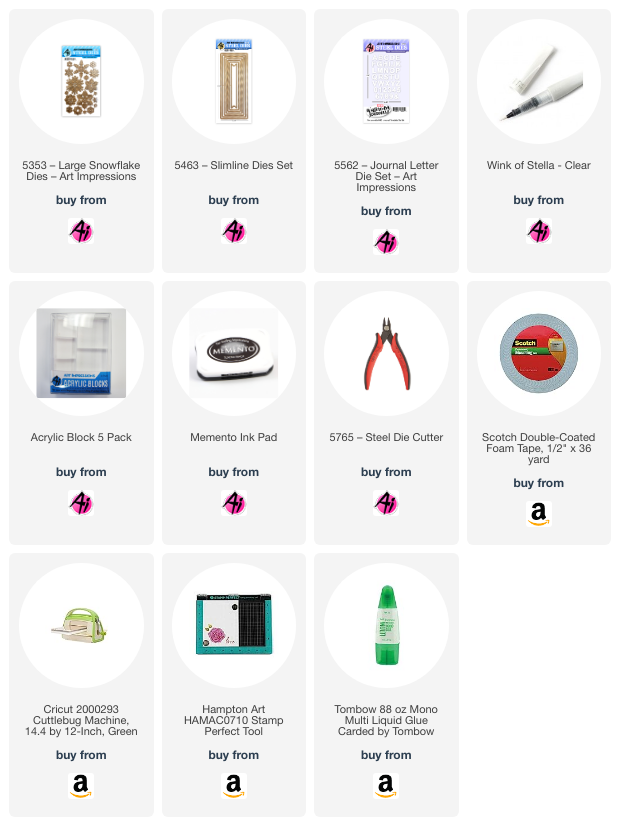
5353 – Large Snowflake Dies

I used the Canson XL WC Paper Pad – 9×12 paper because I wanted something more cream colored rather than bright white.  I also wanted it to have a little texture.


For the snowflakes I die cut some and left them in.  For some I die cut it a second time and glued a second layer on top so they are a little popped up.


I used Wink of Stella and Prima Marketing 584276 Watercolor Confections: Decadent Pies to make some clear and gold sparkle splatters on it with a paint brush.


For some, I removed the inside pieces of the white paper and added gold inside. A few rhinestones and pieces of confetti completed the look.


Thursday, December 1, 2022

That's a Wrap at Art Impressions!

 Hello Ai fans!

Welcome back.  We hope you all had a wonderful Thanksgiving and are busy getting ready for the holidays.

Speaking of the holidays, we have a challenge that might help you with your gift giving.

That's a Wrap!

This challenge has two meanings.  First, we're "wrapping up" our challenges for 2022.  Next,  of course,  we're wrapping up gifts for our friends and family.  We want to see your handmade gift bags, gift boxes, gift card holders, handmade wrapping paper,  tags, cards with presents on them etc.

I am the featured artist this week and I made an elegant gift box.

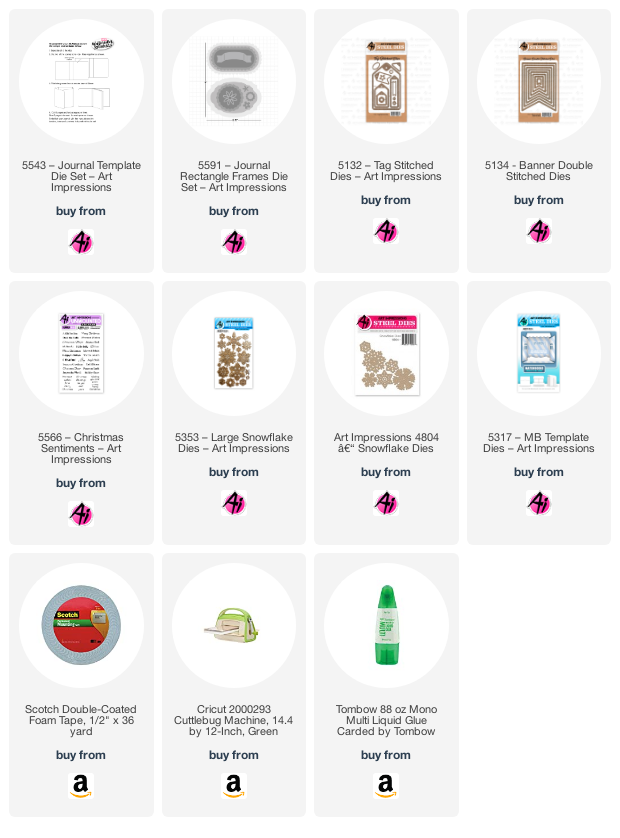
I made the box  using a BUNCH of dies from the 5543 – Journal Template Die Set.  I also used the Seasons Greetings from the 5566 – Christmas Sentiments.
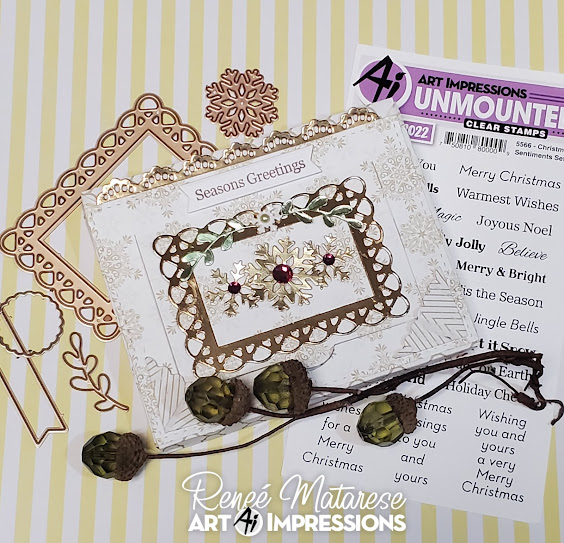


I used gold paper for a lot of the pieces because I wanted this to be over the top opulent!
The sentiment was stamped on a die from 5132 – Tag Stitched Dies.  The snowflakes are from 5353 – Large Snowflake Dies and 4804 – Snowflake Dies.


I also used a greenery die from the brand new 5591 – Journal Rectangle Frames Die Set.

This is the inside of the box before I added the cover.  I used some of the circle dies from the journal set to highlight the 25th.

The sentiment on the inside was stamped on 5134 – Banner Double Stitched Dies.
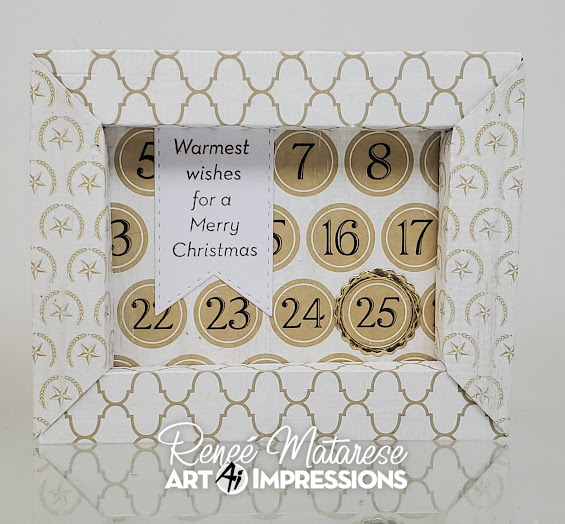


Now for the really fun part!  I made a gift to go inside the box using more of the dies!

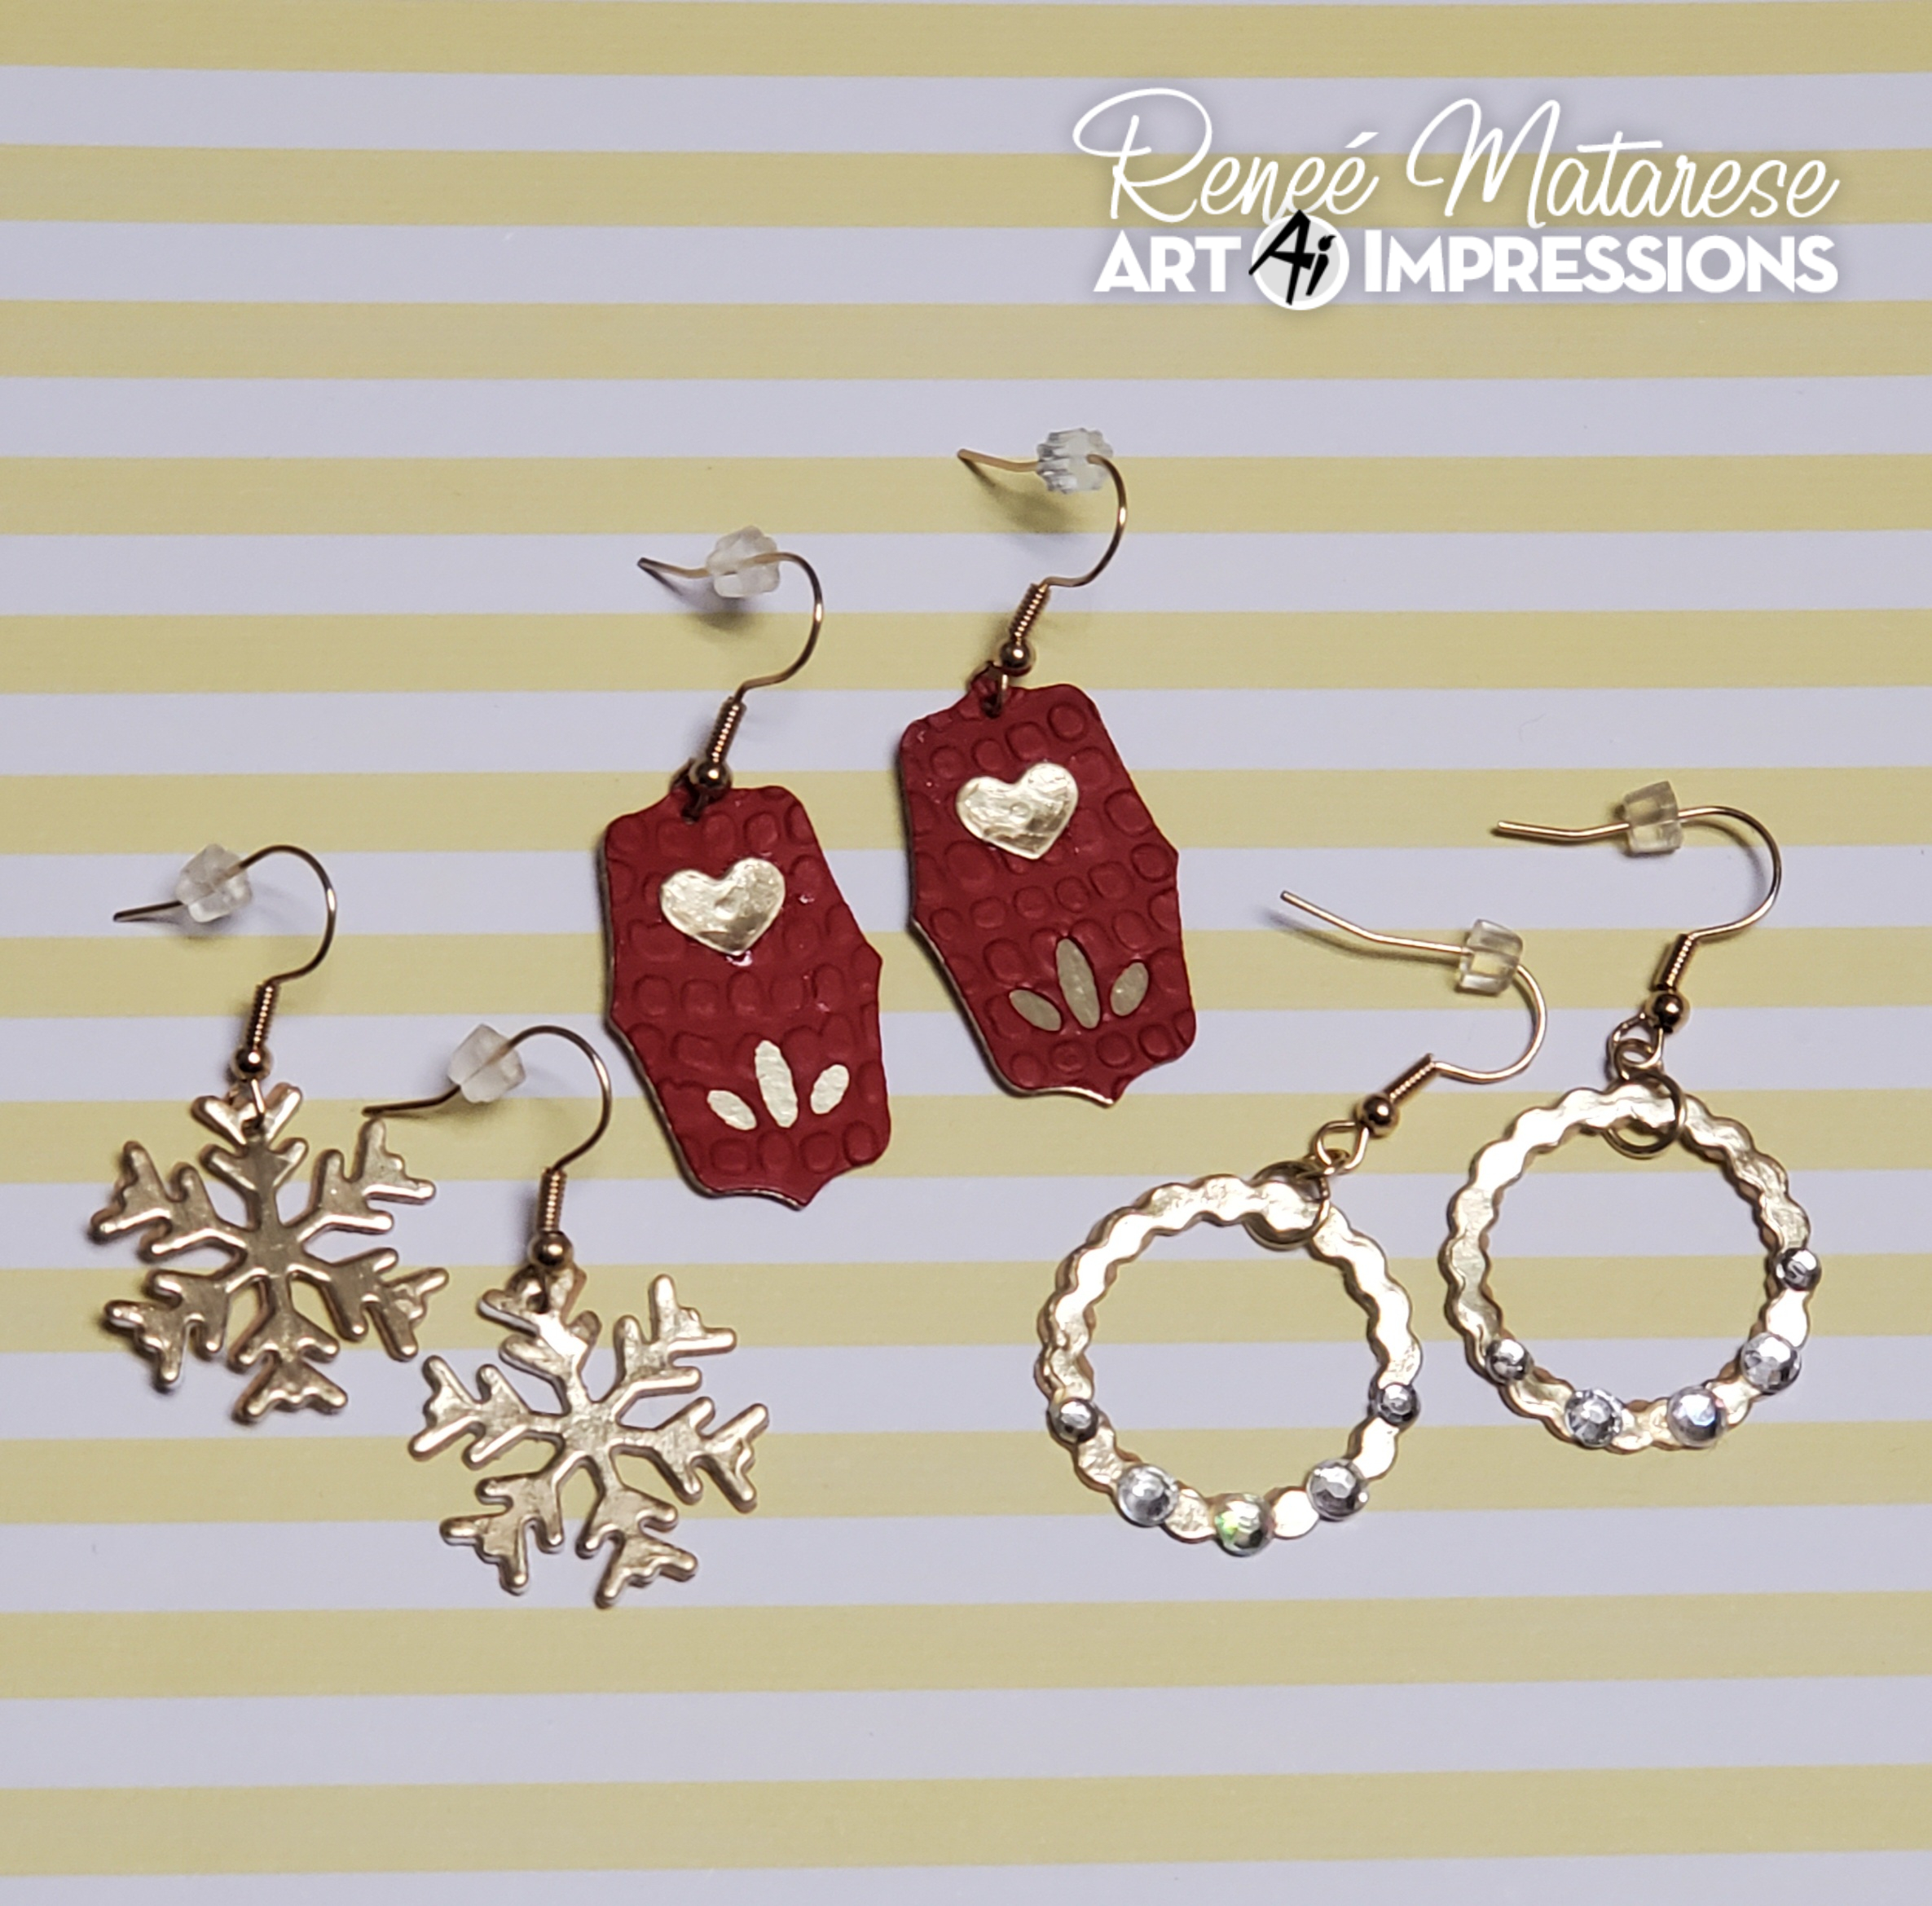
I recently started making paper earrings and I thought
this gift box would be perfect for some of them.
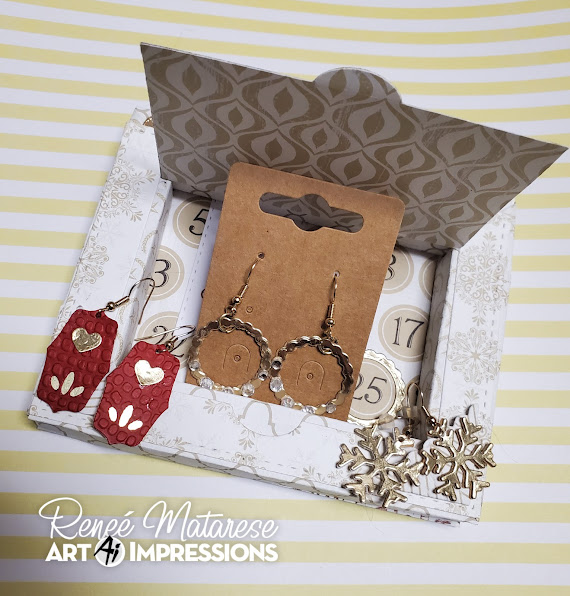


These earrings were made with Ai dies!
I never dreamed my dies would be so versatile!
The little heart is from 5317 – MB Template Dies.


The original plan was just to make the box and so some of the dies
used to make my earrings aren't in the photo.


I hope this inspires you to look at some of your supplies in a new way.
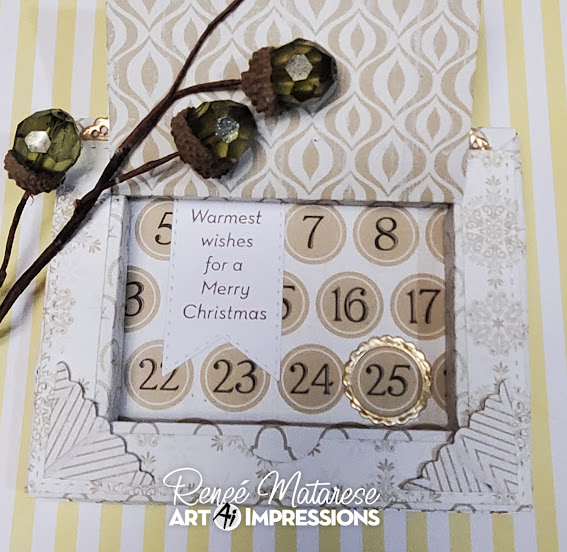


Seasons Greetings everyone!!


We hope you love the last challenge of 2022 and will
enter for your chance to win a free stamp set.

Friday, December 29, 2017

Winter Snowmen from Art Impressions

Hello Ai fans!

Today I'm sharing my final Christmas card with you.  I got a last minute request from my friend at school for a card for her son's teacher so this is what I came up with.


The snowmen are meant to be on the inside of the card and they POP up when you open it.  I was pressed for time and decided to use them on the front with some 3-D foam tape.  I thought it turned out really nice like this.  I tend to "pop" up most of my images anyways and these little guys are already perfect for layering.


On this inside I used the tall snowman from the back of the group and a verse and little bird that also come with the set.

You can see the dimension on my card in this photo. They really come to life being layered like this.


Merry Christmas all!


Thursday, December 28, 2017

Winter Snowmen from Art Impressions

Hello Ai fans!

Today I'm sharing a Christmas card with you that I didn't get around to posting before Christmas.  You know how busy things can get.  I got a last minute request from my friend at school for a card for her son's teacher.  I still needed to make one for my In Laws so I doubled up and just changed the color.  

This is the one I gave my In Laws.  I'll share the teacher's card tomorrow.

and

The snowmen are meant to be on the inside of the card and they POP up when you open it.  I was pressed for time and decided to use them on the front with some 3-D foam tape.  I thought it turned out really nice like this.  I tend to "pop" up most of my images anyways and these little guys are already perfect for layering.


On this inside I used the tall snowman from the back of the group and a verse and little bird that also come with the set.

You can see the dimension on my card in this photo. They really come to life being layered like this.


Merry Christmas all!


Sunday, November 6, 2016

Art Impressions Spinning ornament with tutorial

Hello Ai fans!

Today I'm sharing a fun, interactive ornament that I made.  It spins around and you can see
the read and gold foil on both sides.  


I used an assortment of products from Therm O Web! I used Red and Gold Deco Foil, adhesive sheets and the PeelNStick double-sided foam adhesive.

I created a tutorial for how I made my ornament. 
First I cut the foam adhesive out just a tad larger than my die....times 2.
You need one for the front and one for the back. (I'll explain why later)


Next I laid the snowflake on my foil and cut around that just larger than the snowflake.
I centered my circle die and then cut the circle out.


After peeling the protective sheet off the foam I laid it face down on the SILVER side!
Then, just peel it off.  Look how PRETTY!


Next I took a piece of cardstock and covered it with the adhesive paper. 
Also times 2. 


Lay the snowflakes down on the SILVER side of the gold foil.


The reason you need two of each snowflake is because you need to stick the string for them to hang on in between the two layers.


Decide where you want to place the snowflakes and remove the adhesive so you can stick the thread down.  Snip off any thread that overhangs.


Place the other foam ornament over the first one to hold the string in place. This is why you needed two of them.  You want the string to be hidden in between them. Remove the adhesive on the second ornament and foil that piece too.  Silver side goes towards the adhesive.


Here's the completed die cut piece with the sweet little snowflakes hanging inside.
They really spin around too! 


Add some gold embroidery thread to hang your ornament. 


https://www.rafflecopter.com/rafl/share-code/Nzc2NjdhZWFmOWExN2MyNDVkMzE4MGE3ZmRjZTJiOjIw/


<iframe width="560" height="315" src="https://www.youtube.com/embed/88CmmBlcSuI" frameborder="0" allowfullscreen></iframe>