Step 1. Measure and cut your paper. I will give the common measurement requirements at the bottom of the post. There are many combinations of measurements and you can choose to make either a square or a rectangle. For this example I have cut a piece that's 5" by 6.75". This will make a rectangle.

Step 2. Punch all 4 corners first. You will get a better result.

Step 3. Line up the corner with the silver corner that is printed on the coordinating border punch. Punch your first piece of the border.

Step 4. Continue to punch the border being sure to line up the areas you have already punched with the corresponding silver guidelines on the punch.

Step 5. Punch your way all around the remainder of the paper until it's complete. This is not an exact science. You may get a few stray wisps that aren't quite lined up perfectly. Just trim away what you need to to give it a clean look.

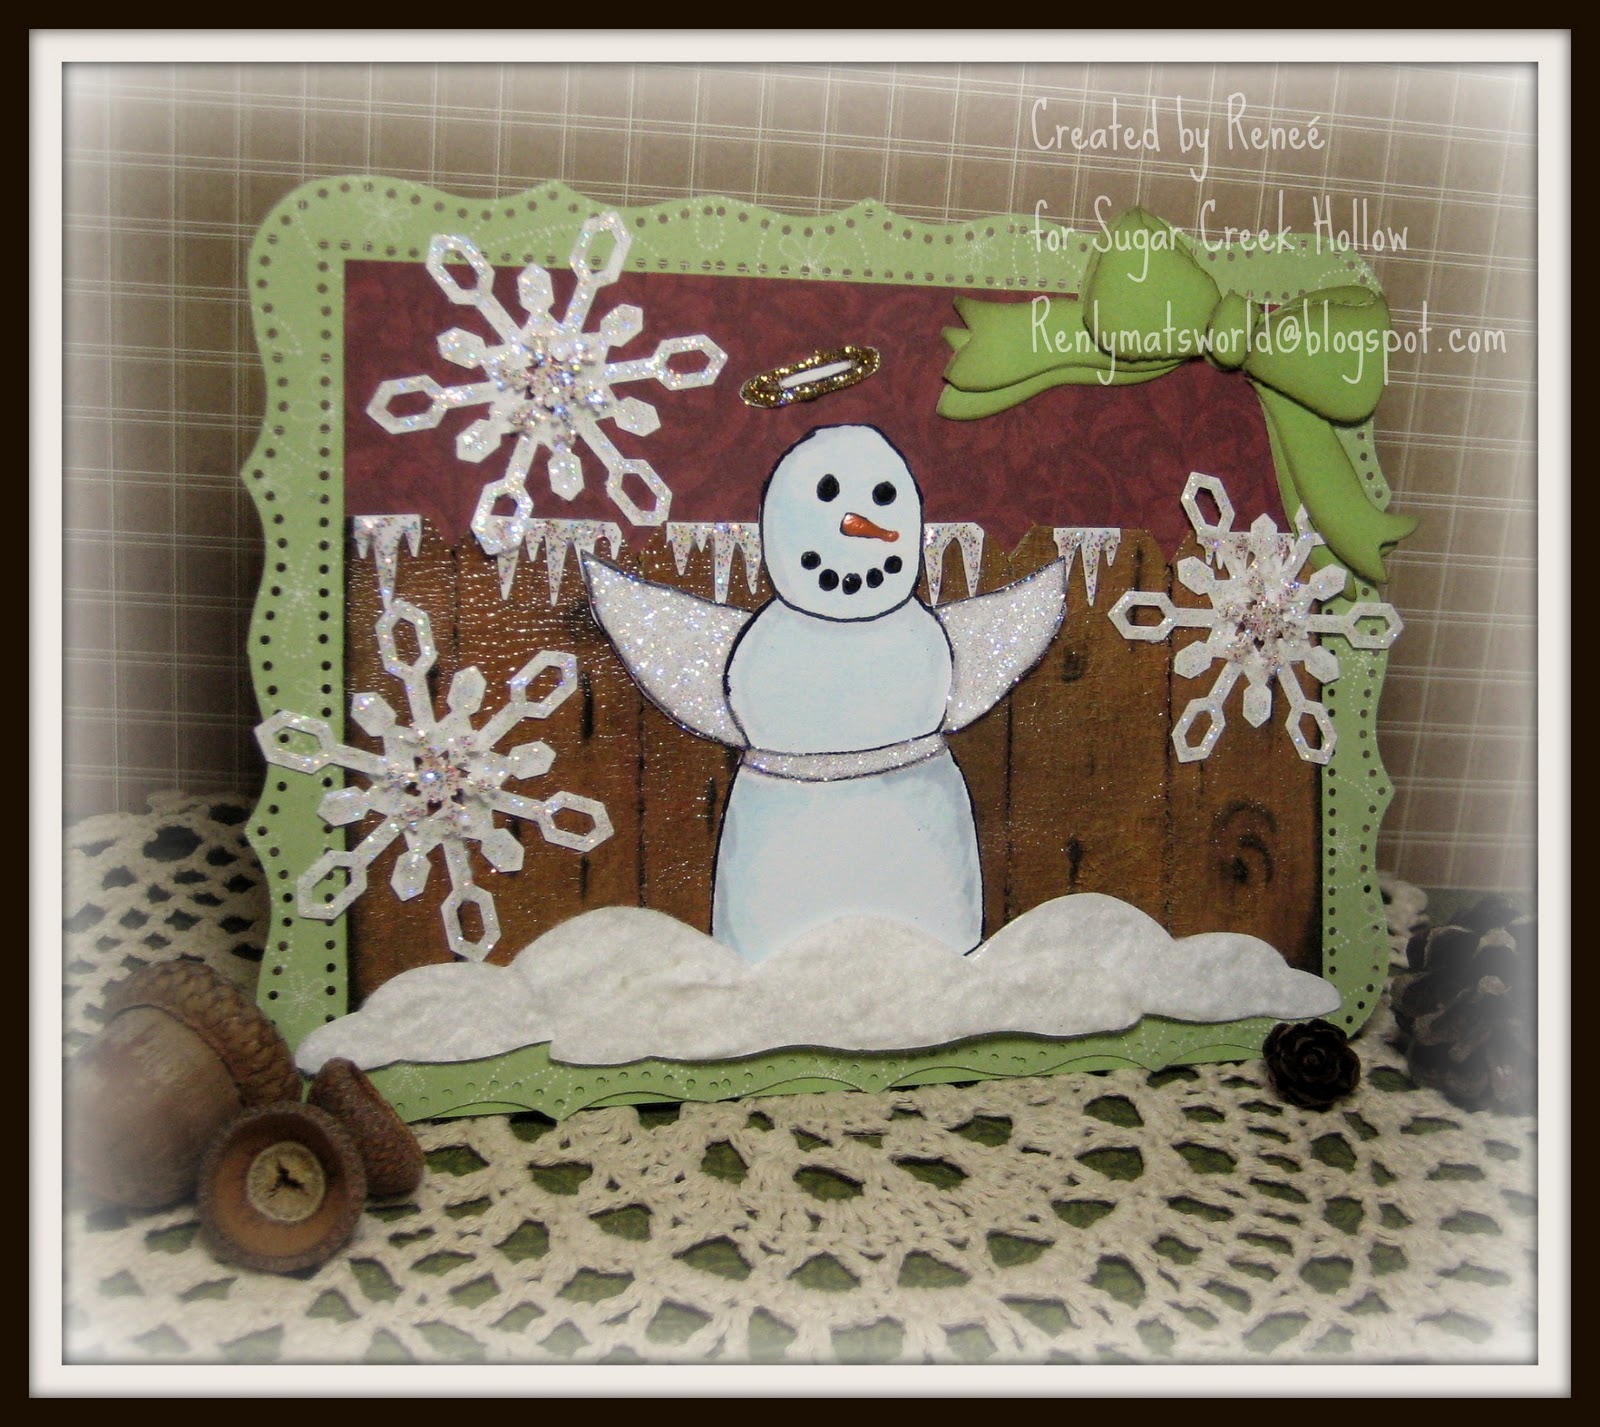
Here's a finished card using this punch.
Here's an example starting with a 5" X 5" piece of paper for the card front and a 3.25" x 3.25" piece for the inside matte.

and another...the possibilities are nearly endless.

Here's a set of photos from a different corner and border punch....


It is possible to combine a different corner with a border punch that's not intended to go with it if they are a similar size and design. I have found that it's wise to use a piece of cheap printer paper to practice before using your good card stock. Trial and error! Don't be afraid to experiment. You may find something that looks really nice.
Here are the most common measurements for the Martha Stewart standard sized corners and borders.
3.25"
5"
6.75"
8.5"
10.25"
12"
If you want a square just use 2 of the same measurement. (5"x5")
If you want a rectangle you need to choose two different measurements like in my sample photos. (5" x 6.75")
The deep edge punches work on different measurements due to their size. Most of them will work with these measurements.
4"
6"
8"
10"
12"
Again, for a square choose 2 of the same. (4"x 4")
For a rectangle choose 2 different sizes. (6" x 8")
Keep in mind your finished product will be slightly smaller than the measurements you start with because you are trimming away parts of the edges. This means that if you make a 5" x 5" card and make a 5"x 5" punch around the page piece it will fit nicely on the front of you card with a small border around it. Here's an example of how that would look.

I hope you've found this helpful. If you have any questions I'll be happy to answer them. ...If I can! No one ever accused me of being a genius!
3 comments:
YAY....I have been waiting for this to come on. Now i can do borders this weekend. Ha ha!!! I am sure I will have to re-visit your tutorial once I get to sit down with my supplies, but thanks so much for this Renee. Your instructions are claer and easy to follow. Also, please send me th html code for this post. I want to feature the tutorial over on the blog if that is ok with you.
Thanks for this Renee! You've simplified this and now I think I can do more of the all around borders. I have found until now that it is more error than trial!
Renee, great tutorial! I'm just a little late finding this - this will be so helpful!
Hugs,
Marsha
Post a Comment