Hello Ai fans!
Today I'm sharing two mini spinner cards with you.
One is a little more feminine or juvenile and the other one is more masculine.
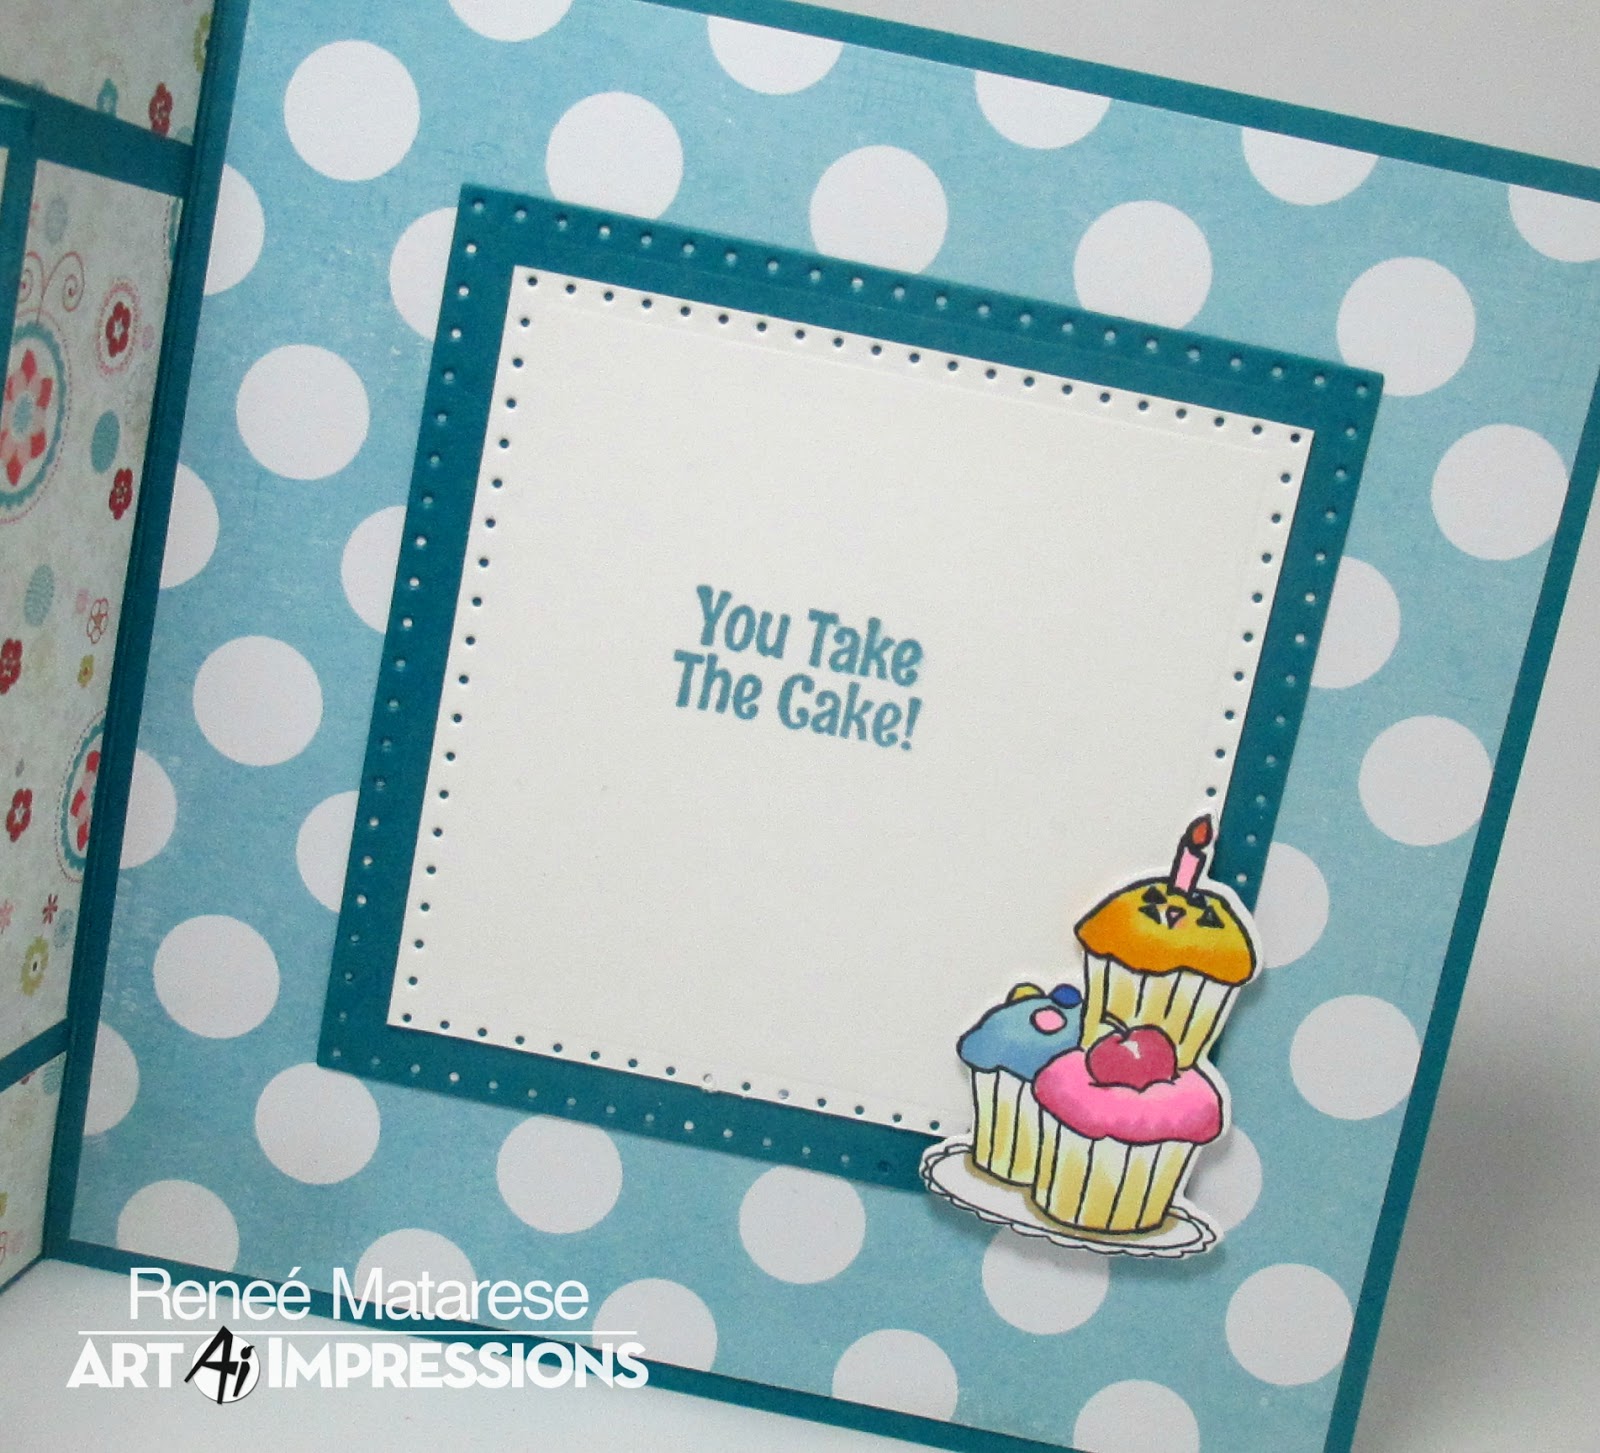
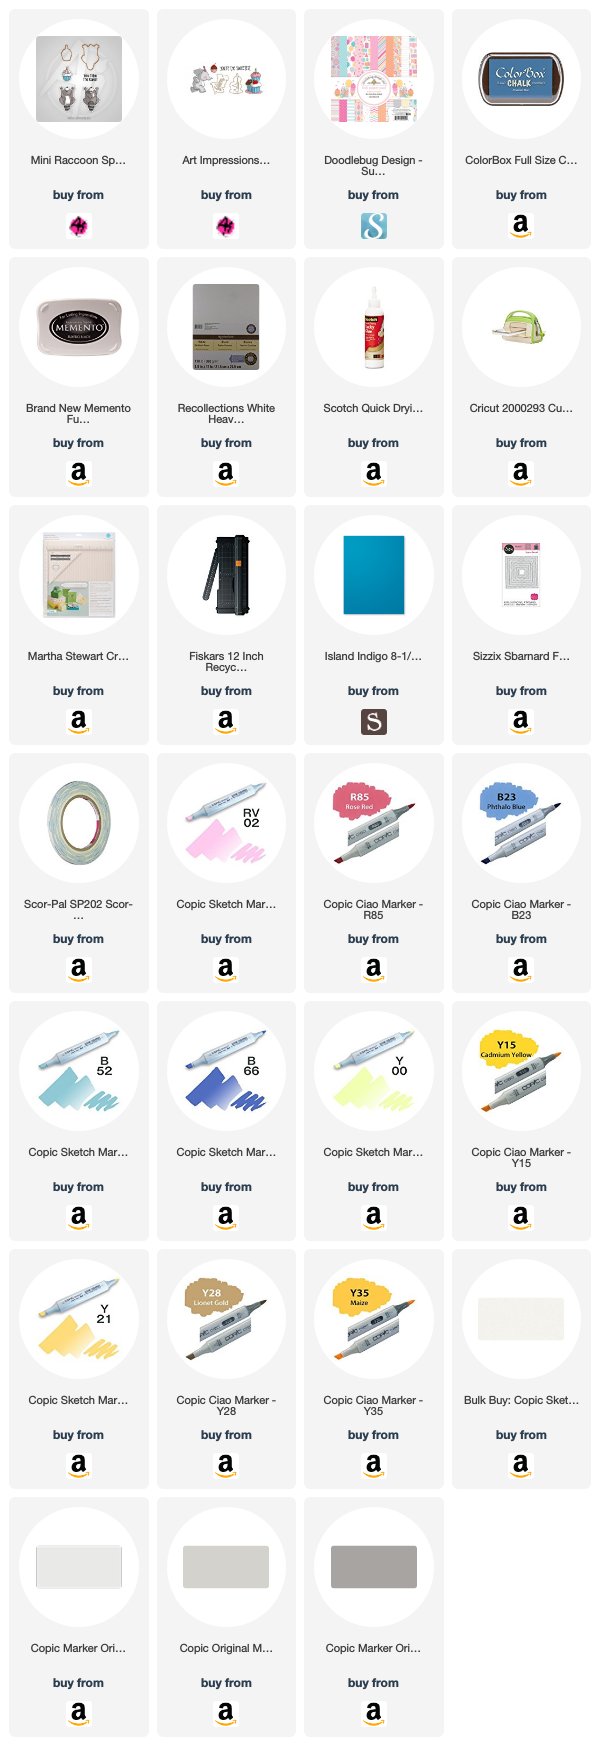
I used a sweet set from Art Impressions called


The cutest part about these is that you can wind them up and then let them go...watch them spin!!
These are actually pretty simple to make. I've put together a tutorial for you. There are a lot of photos because I wanted it to be really clear what I did at each step...sorry it's so photo heavy.

Cut your cardstock base to 5 1/2" x 11". Score and fold your paper at 5 1/2".

Score the left side at 2 3/4".

Using your paper trimmer ... turn the paper sideways and line up @ the 1" mark from the side of the card and cut from 1 3/8" up to the 4 1/8" mark. Flip over and repeat on the other side.

Score from the end of each cut to the other cut.

Crease the center scored portion back and the two sides forward.

Cute your designer paper to 5 1/4"x 5 1/4".

Measure the panels on the left side and cut your DP to fit. You'll want them about 1/8" shorter than what each panel measures so that there's a border. I didn't give measurements here because they can very slightly due to exactly how you score and cut.

Once your panels are all assembled you're ready to add your spinner.

Stamp, color and die cut your shapes.

Cut your string and adhere to the back of the card.

Next, adhere your front and back images. I use double sided tape for this.

Stand up your card...wind it up and watch it spin!!

I made one with the wood grain background because I wanted one to be masculine.


My other cards was a little more feminine or whimsical with the dots and flowers.

I hope this inspired you to think a little outside the box. You don't always just need to cut a circle on the front of your card to create a spinner.


No comments:
Post a Comment