Flying fairies for Clara Dawn!
Hello everyone and Happy Sunday!
Hello everyone and Happy Sunday!
My friend's granddaughter is turning four in September and guess what she likes? Pink, gems, unicorns and fairies. Shocking! lol!
Here's the left side of the inside.
I made a second card to send to Ai which was created with the current All Wrapped Up challenge in mind. Use either real or stamped ribbon or bows.

Now I have two mini picture tutorials for you.
I've had a few people talk about not getting a stamp and die to line up. (I'm not just talking about Annie, who has replacement dies coming) Here's a quick little tutorial on how to get perfect stamp and die alignment.
BEFORE stamping, cut out the die cut.
Place the negative space in your stamping platform.
Viola! You have a perfectly stamped and die cut image.
My next tutorial is on how to create the little flying fairy. Last fall I made two cards with flying images. One was a Halloween card with flying bats and one was a spring card with a bird and bee. You can click on each photo to be taken to the original posts.


To make these little cuties fly is really pretty simple. I cut a hole with a hole punch into my cardstock and into a little piece of acetate. (I save all my packaging from everything to cut up to make clear cards, shakers and things like this)

I use a brad to attach the acetate to the cardstock. Make SURE that you don't close it tightly or your acetate won't swing. Test it before adhering anything to the card base. I prefer not to see the brad so I always create something to go over it. Make sure not to use your foam tape in any area that will stop the little "pendulum" from swinging.
More foam tape makes that happen. That's it! Just a hole punch, a brad and some foam tape.
Wouldn't this be super cute with an angel on a Christmas card?!
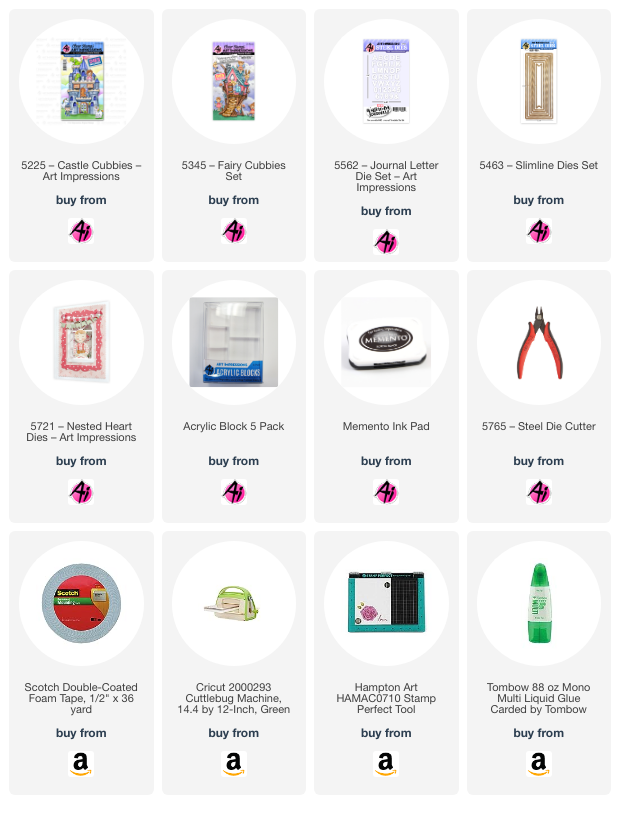
5463 – Slimline Dies Set for left hand border on side of card and for inside of Madelyn's card for the sentiments.
G03, G14, Y02, RV02, RV06, N0, N2, N4, E00, E33, E1, E95
Twin Tones:
Lime Green, Yellow, Gray, Sky Blue, Turquoise Blue,
Coral Pink, Princess Pink and Pale Rose
Coral Pink, Princess Pink and Pale Rose


No comments:
Post a Comment